Geofencing Basics
The Core allows users to create virtual geographic boundaries called geofences. Users can define a tracker's behaviour within a particular geofence and alert first responders should their assets enter/exit the defined area.
For instance, you might want to inform your a field team that they are entering a particularly dangerous area, and increase their device's position tracking frequency. Once your team has moved away from danger, you can decrease your device's position tracking frequency to save battery.
Geomarkers
To draw a geomarker, click on the cog next to your account name and select Draw new Geo Marker.
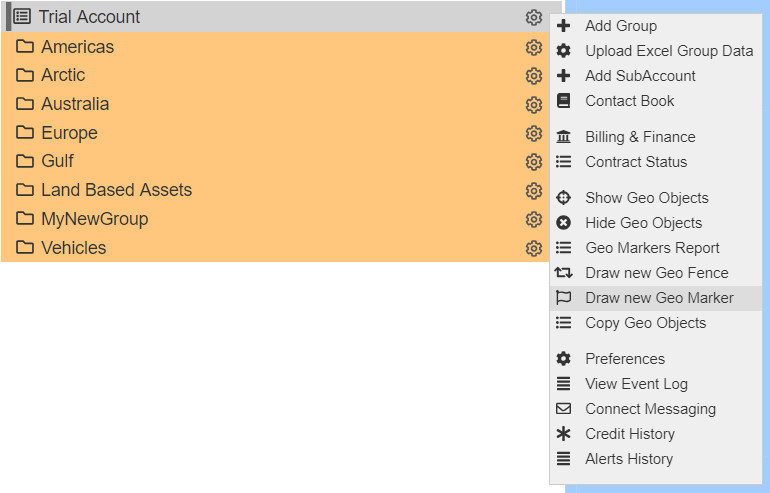
Draw a new geo marker
To set the location of your geomarker, you can either click on a location of your choice, or enter the Latitude / Longitude in the dialogue boxes provided.
To label your geo marker, you can select from any colour in the RBG colour space - values are in Hex (ex. #ff0000 for Red). This will allow you to colour code similar-type geo markers depending on their qualities or characteristics.
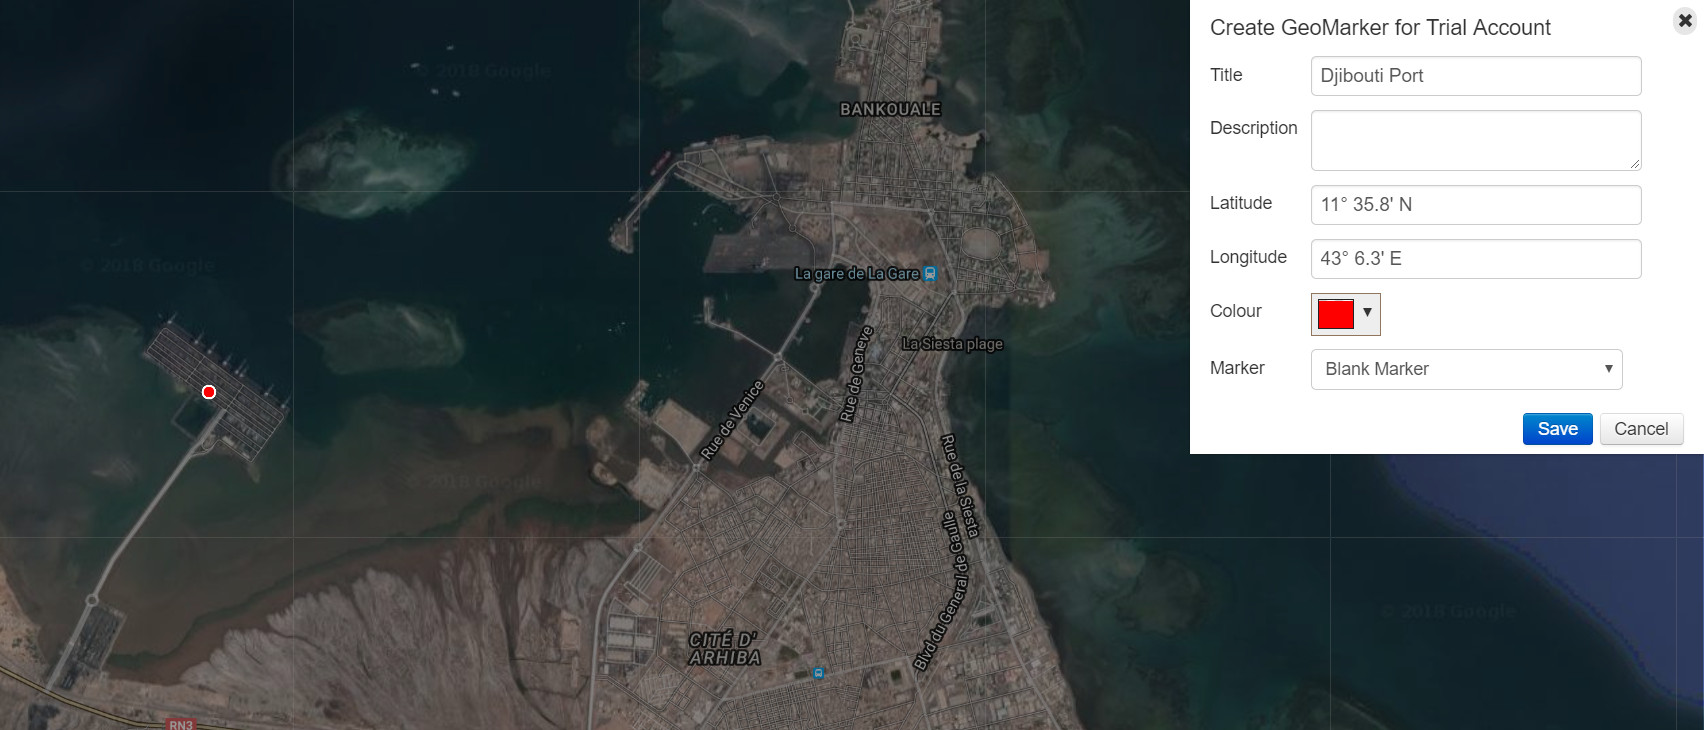
Adding a new Geo Marker
Geofencing
To draw a geofence, click on the cog next to your account name and select Draw new Geo Fence
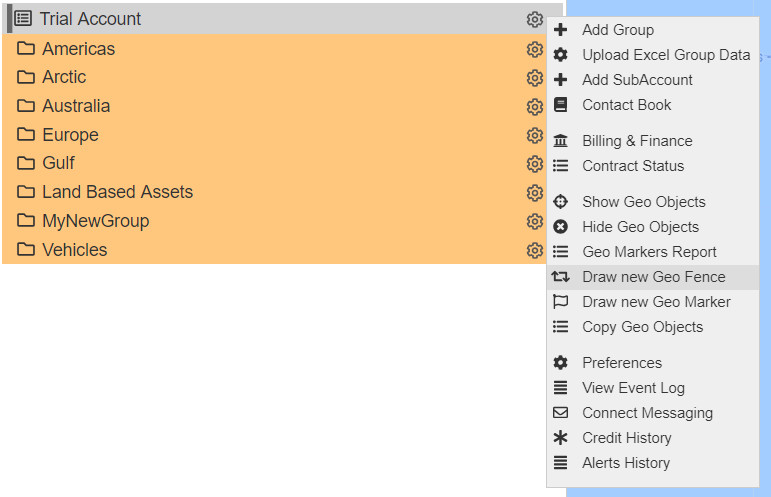
Adding a new geofence
When your geofence's title/description and colour have been set, you can create a polygon on the map that encompasses your area of interest. When the polygon is closed, you can save it.
Geofence points are added by clicking on the map - they can then be edited manually.
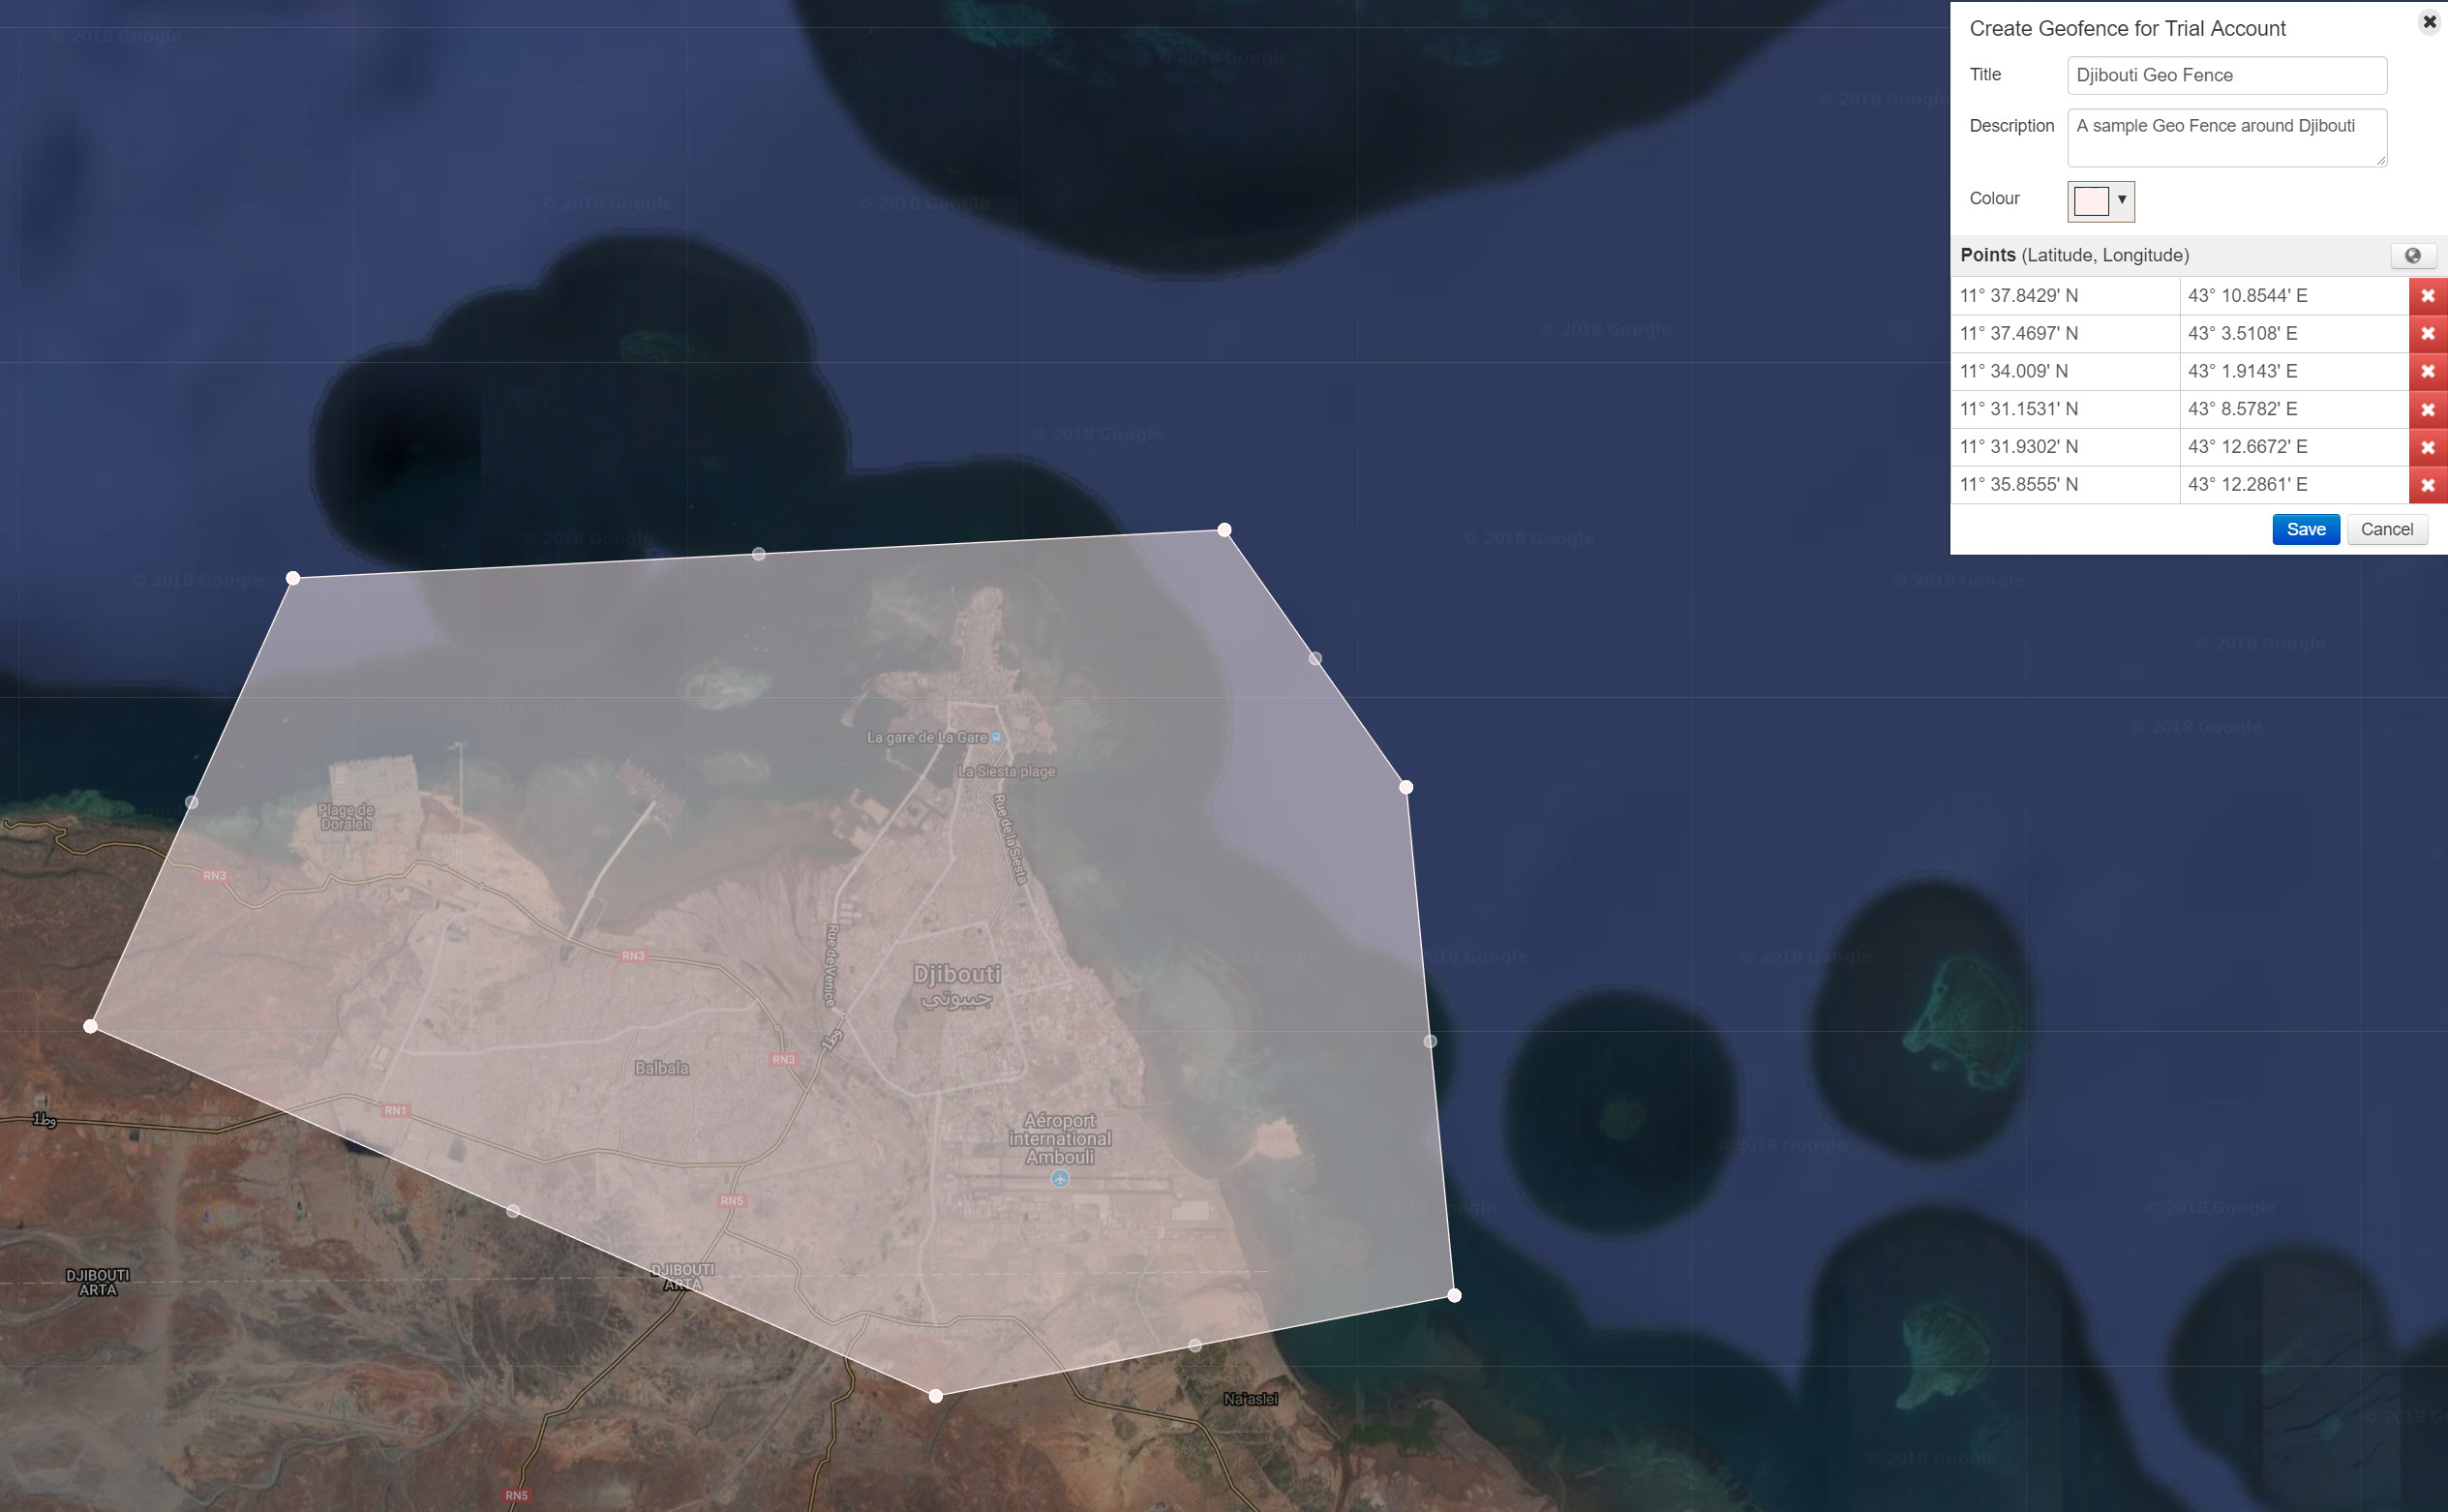
Adding a new Geofence
Geo fencing Behaviour
Having created your geomarker/geo fence, you can now define how groups interact with either by clicking on the cog to the right of your group, and selecting Geofences.
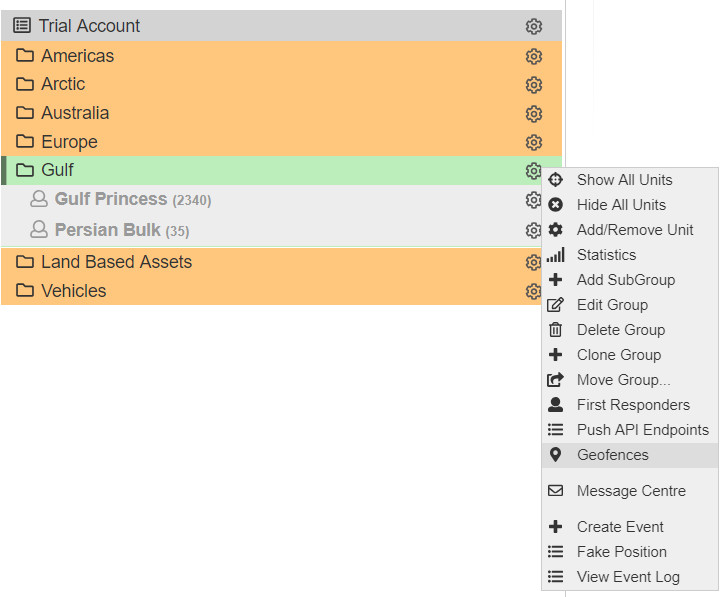
Select Geofences to set tracker behaviour
There are two options in the Geofences menu:
- Behaviours: Manage tracker group behaviour following interaction with a geofence or a geo marker.
- Messages: Send a device configuration message following its interaction with a geofence or a geo marker.
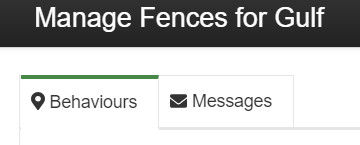
Geofence behaviours and messages
Behaviours
In the Behaviours tab, click on the green New Geo-Fence Behaviour button.
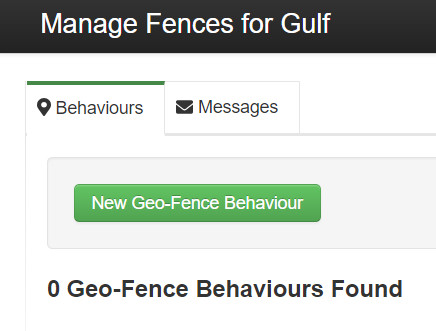
Define new geofence behaviour
The Behaviours menu will allow you to define the behaviour of the devices within a particular group.
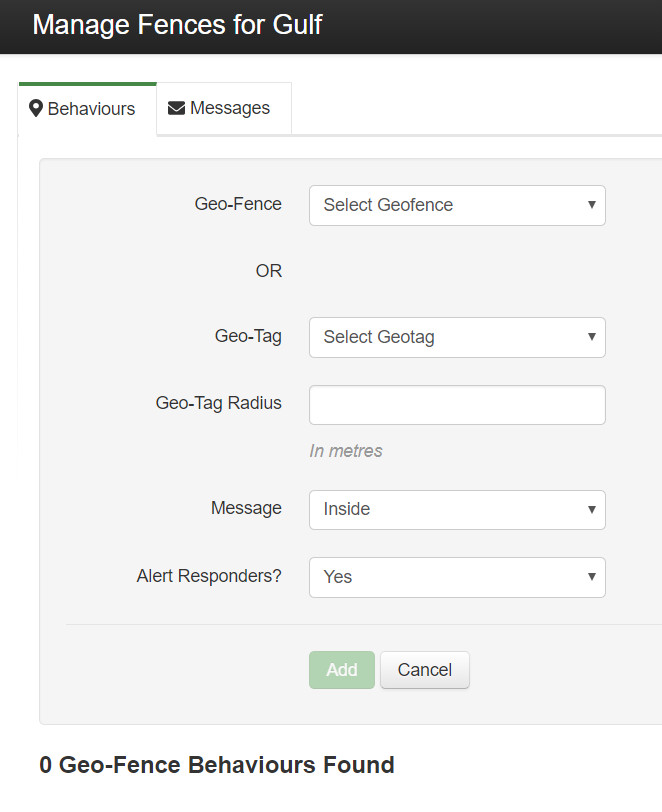
The Behaviours menu
Geo-Fence: Select your geofence
Geo-Tag: Select your geo marker, and the radius (in metres) that this geo marker will be active.
Direction:
- Inside: You are moving inside the geofence\geo marker
- Outside: You are moving outside of the geofence\geo marker
Alert Responders:
Yes: Alert First Responders with a message
No: Send alert only to HQ through the Core.
Once added, each of your group's behaviours will be listed in the Behaviours tab.

List of Geo fences
Geofences can be displayed on the map by ticking the View box and clicking on the Show on Map button.
Any changes made to the Direction/Alert Responders options must be saved using the Save Changes button.
Messages
The Messages menu sends a new/existing tracker configuration profile to a group of trackers, depending on their proximity with respect to a geofence or geo marker.
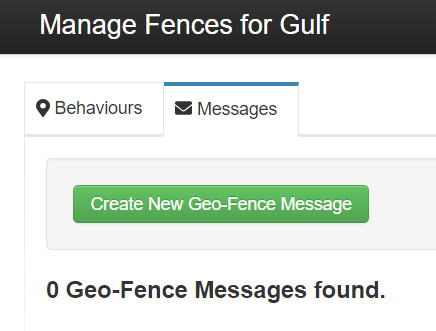
Send new Geo Fence message
In the Messages tab, select New Geo-Fence Message.
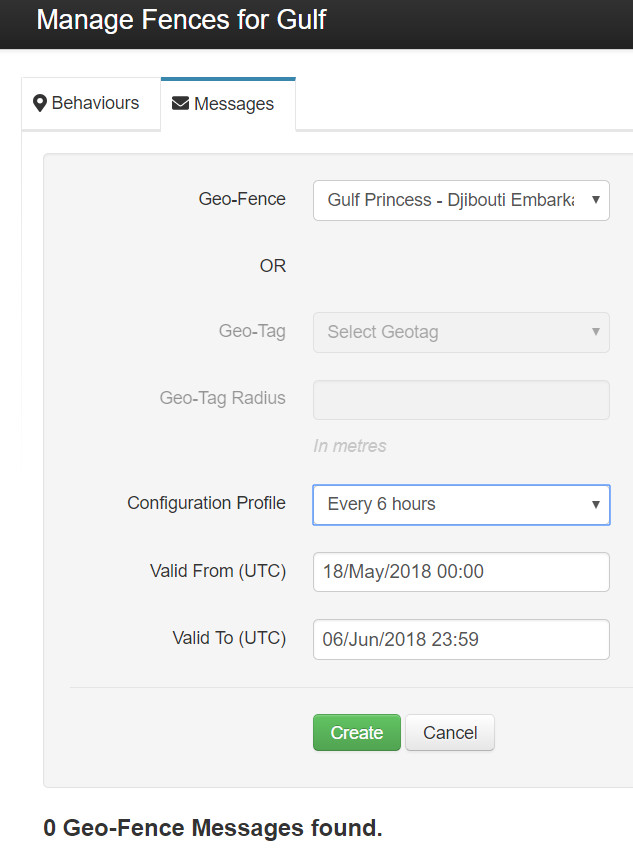
The Messages Menu
Configuration Profile: Pick the configuration profile that you'd like to send to the group. Configuration profiles can be selected in Display Settings and Config Profiles.
Valid From (UTC): Date/Time that this new configuration is valid from.
Valid To (UTC): Date/Time that this new configuration is valid to.
Updated about 6 years ago
